You will want to first pick out the color combo you wish for jeans. For this image I wanted a darker blue color. My rule is typically to pick at least 3 colors that go together. For example, I will be using B93, B95, and B97. You can pick lighter blues for a faded look. For a fun twist you can always make jeans a different color other than blue as well!
Lets get started!
------------
STEP 1
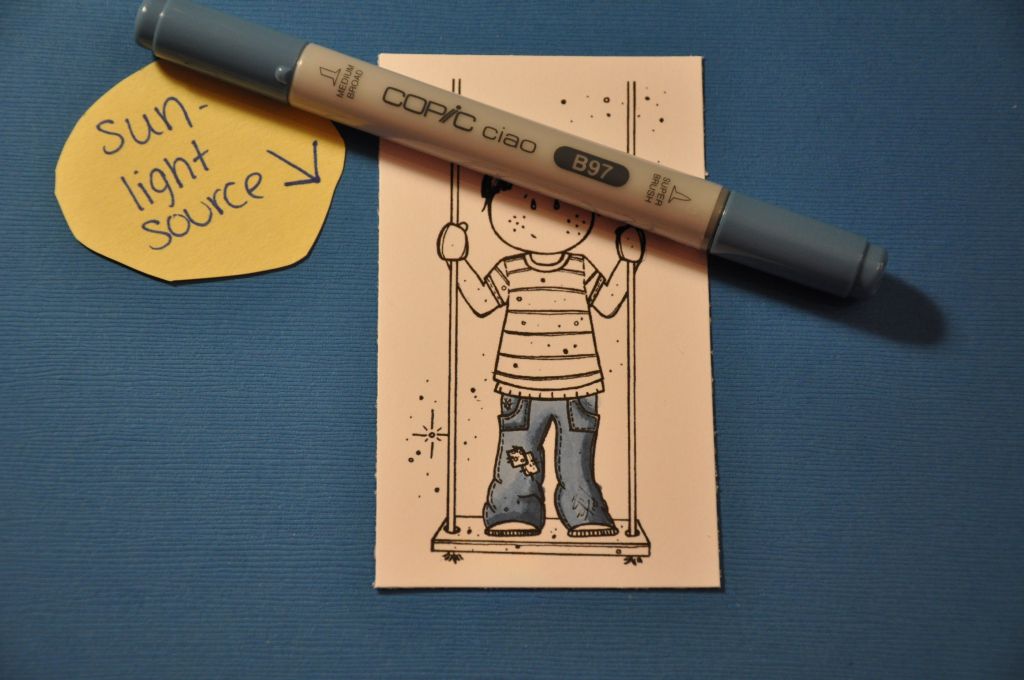
Here is the image Aj on swing, he is adorable and has a pretty good size area of jeans to play with. Again, I am using the colors B93, B95 and B97 (you can also use the colorless blender to make the jeans appear faded)

STEP 2
Image before I color him. You need to pick where the light source is coming from. I want the sun to be on the left, which means everything on the left hand side of his body will be lighter because the sun hits there first.

STEP 3
Taking your darkest color (B97) fill in the areas that will be the darkest. This is where the sun will hit last or in deep folds in the fabric.

STEP 4
Using the medium color (B95) go over the dark area you just colored and add some more color. Leaving enough area to color where the sun will hit first for the lighest color. To blend the colors together go over in little circles to evenly blend the Copics together.

STEP 5
Using the lightest color, fill in the rest of the image. Also go over complete jean area to help blend all 3 colors together.

STEP 6
Repeat the steps if you want to go back and make the areas darker to stand out more. When you color over the darker area with any lighter marker, it will take away some of the color.
STEP 7
Repeat with color B95

STEP 8
Repeat with color B93. Just keep repeating these steps until you get the desired look for the jeans and the color you want. Just be careful not to over saturate your paper or the color will start to run out of the image lines.

STEP 9
Pick a color combo for the patches. I decided to use R29 and R46. I also used 0 to lighten the patches to look worn.

STEP 10
Completed jean area. You can see exactly where the sun/light source hits first (lightest) and where it hits last (darkest).

STEP 11
Continue coloring AJ. Just remember to keep the light source in mind! Here are the color combos I used:
Jeans- B93, B95, B97
Patch- R29, R46, 0
Shirt- G02, G05, G07
Skin- E00, E21, R20 (blush/cheek color)
Hair- C1, C3, C5, C7
Swing- E53, E33, E35, E37
Shoes- E57, E77
Sky- B0000

STEP 12
Complete the card or project using your image. For my card I used:
Stampin Up cardstock, Neenah Cardstock, and the pattern paper is Making Memories. Buttons were from personal collection collected over the years, corner rounder.

3 comments:
Great tutorial! I love how you shaded this image! I'm off to practice :)
Great job! Thanks for sharing your tutorial.
Great tutorial :)
Post a Comment